
Configuring your venue's Delivery Settings.
Instructions
Step 1
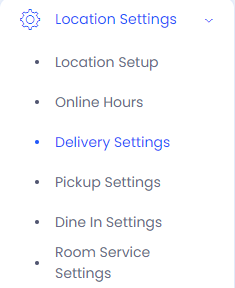
- Log in to the console and in the left-hand column, click on the tab Location Settings. This will reveal a drop-down list, click on the Delivery Settings.
Step 2
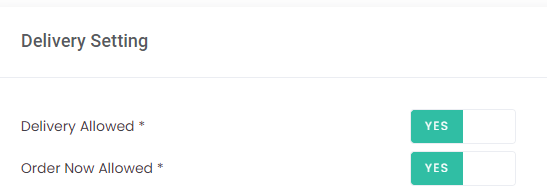
Enabling Delivery
- Ensure that you activate Delivery Allowed by changing the switch from NO to YES.
- Repeat for Order Now Allowed.
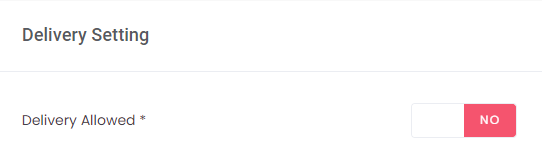
- If NO is enabled, Delivery and Order Now will be disabled.
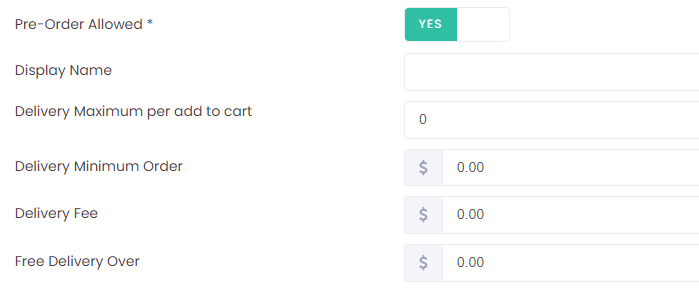
- Pre-order can be switched on or off, depending if you would like to receive pre-orders for the day or the following days.
- If you would like to add Delivery fees, please complete the fields with a $ value.
- Display Name can be left blank - this will just mean the word Delivery will be used on the front end of the system otherwise you can change this label name if there is a certain area of your venue that requires Delivery. E.g.: Delivery in Bistro.
Step 3
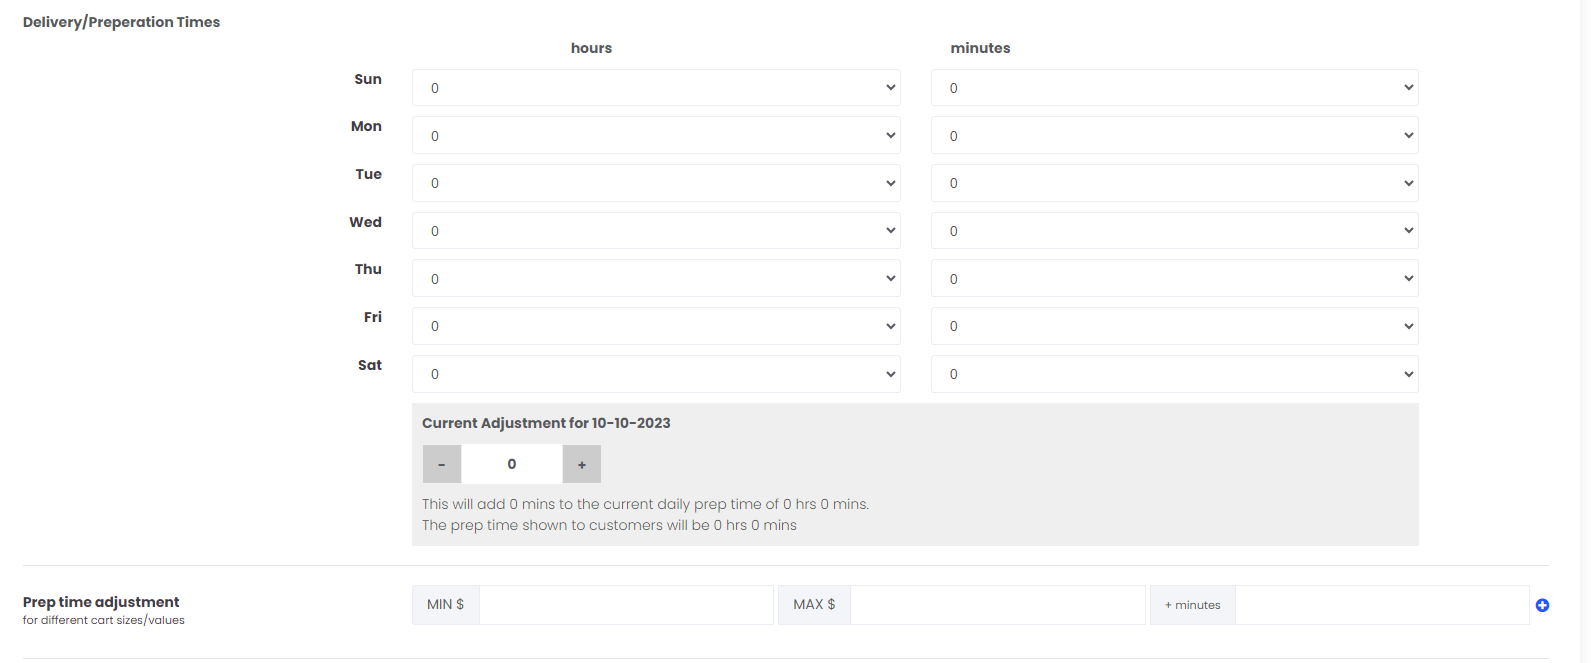
Setting up Delivery/Preparation Times.
- Some days trade can be busier than others and require more preparation time (Denoted by PREP in the console settings). By customising this option, your kitchen can convey approximate wait times to clients when they place their orders.
Prep time adjustment for different cart sizes/values.
Step 4
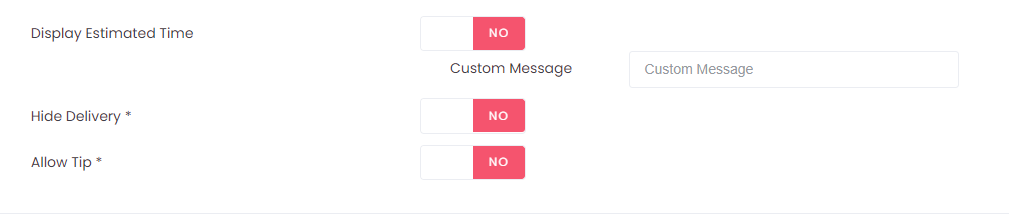
Display Estimated Time
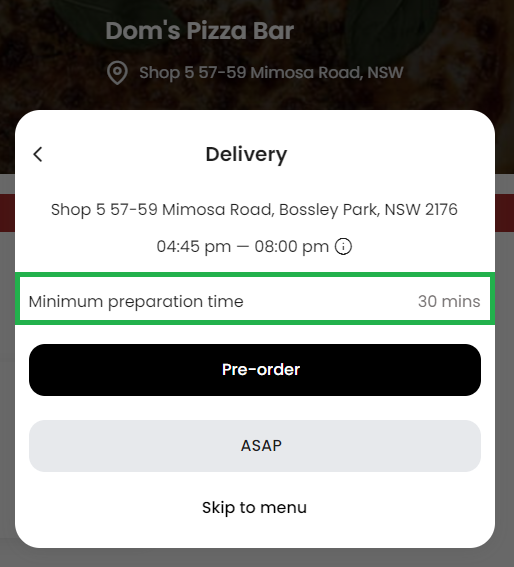
- By activating this option your patrons can visualise the approximated Delivery time. Upon order completion, patron email confirmation is time-stamped with the displayed time.

- The estimated display time will show once the customer selects the method and the minutes/hours are pulled from the prep time settings.
- If you switch this to NO - you can insert a custom message instead to be displayed for your customers.
- Do not forget to click the Save & Exit or Save & Continue button
