
When it comes to choosing which areas you would like to be able to deliver to, Order Up's back-end console allows you to configure either a simple radius from your store, delivery suburbs or delivery polygons which allows for more flexibility.
Delivery Radius
In order to set up the delivery radius you must:
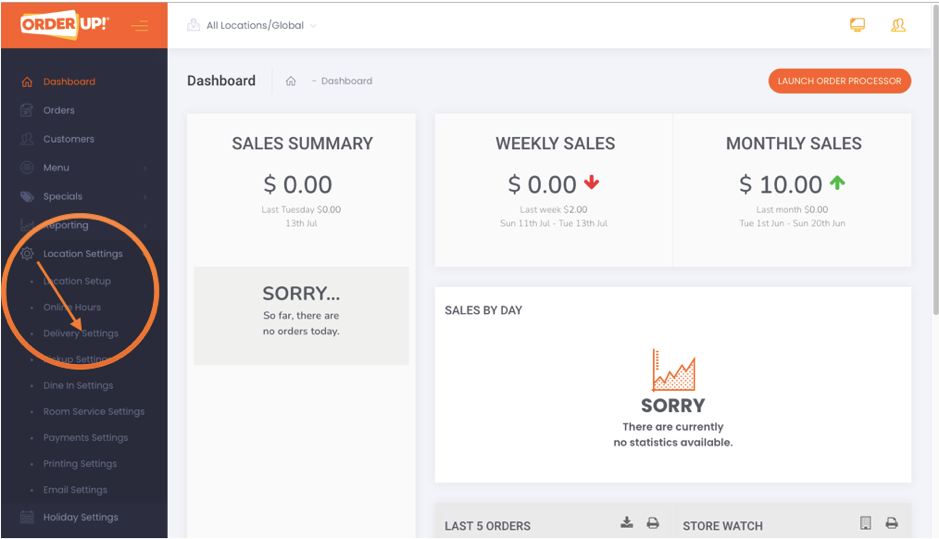
- Log in to your dashboard and select ‘'Location Settings’' then select ‘'Delivery Settings’'
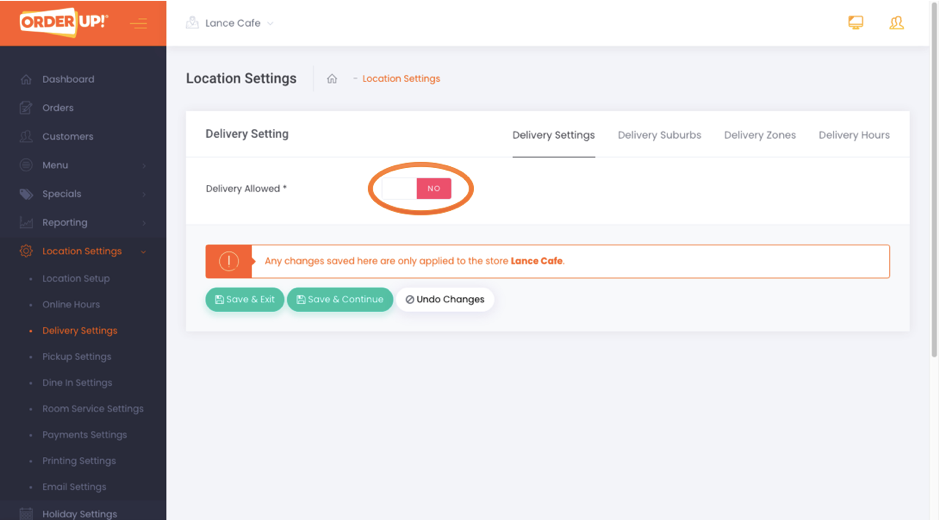
2. Select the location you would like to edit if you are a multi-store site.

Please note, if the delivery setting is not active, changes cannot be made. Please ensure that ‘yes’' is selected.
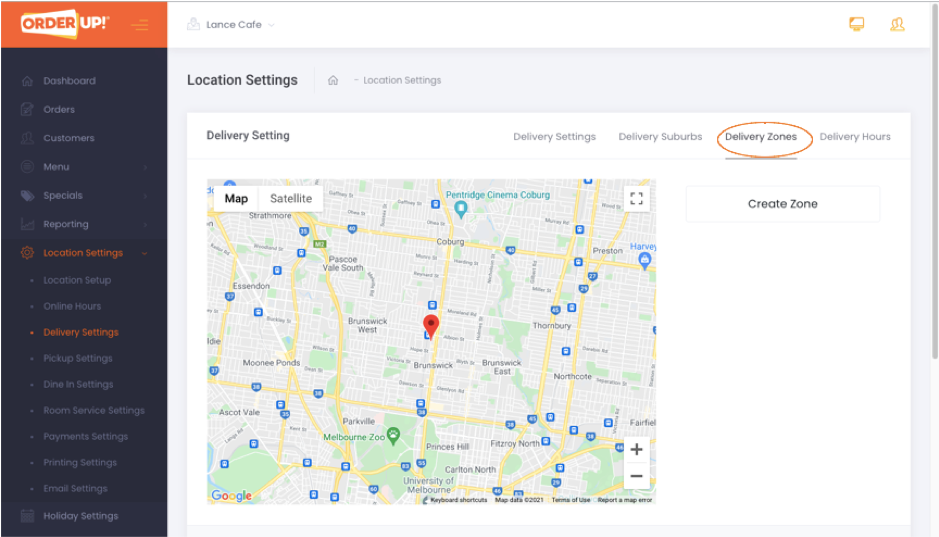
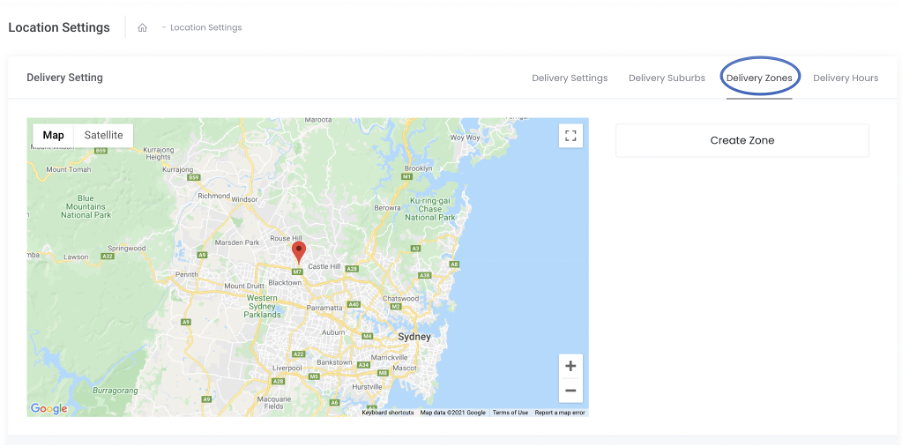
3. Select ‘'Delivery Zones” on the top right
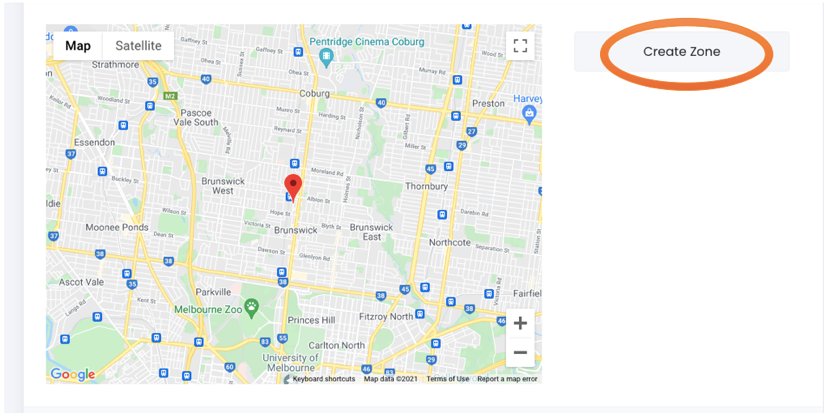
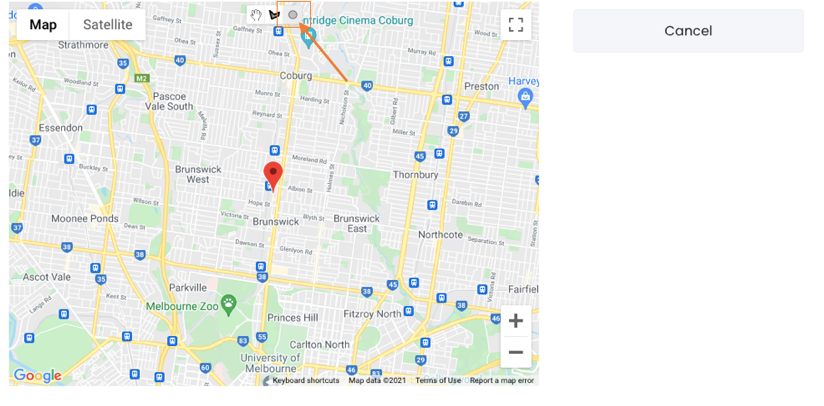
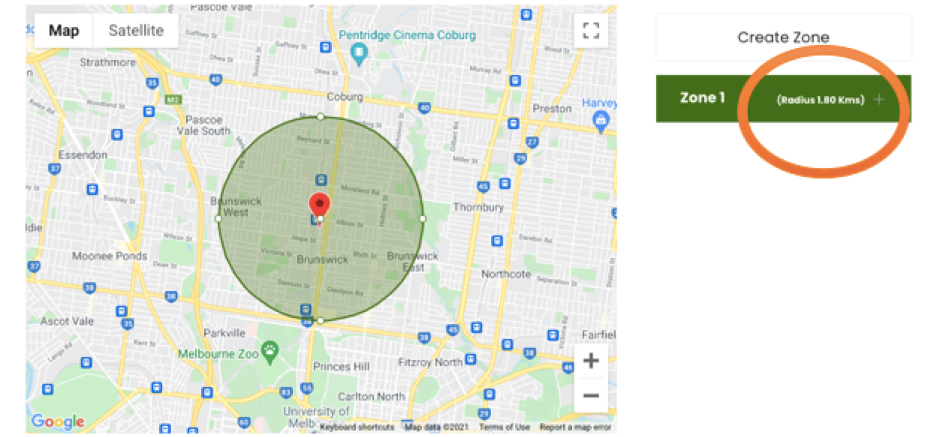
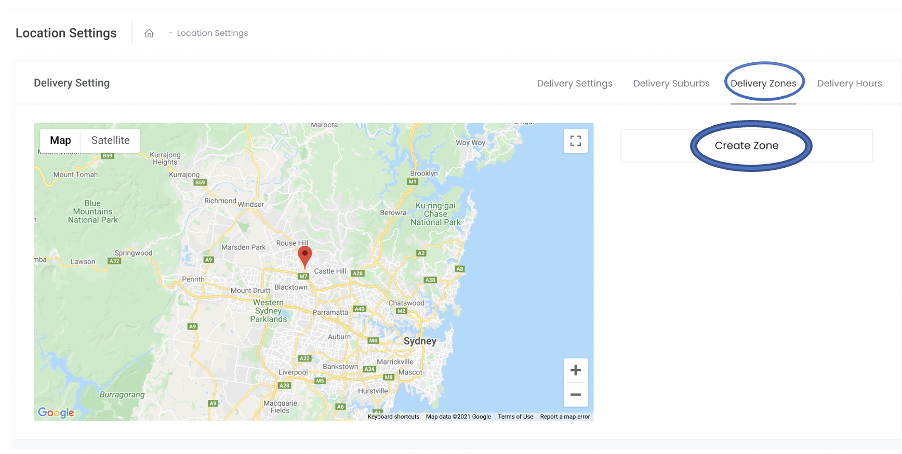
4. Click onto "Create Zone" and you will notice a small panel located at the top and centre of the map. Click on the 3rd option which features a symbol of a circle. Select this option and draw a circle starting from the centre of your store’s location.
NOTE: If creating multiple zones, always start from the larger outer zone, and create smaller zones within.
5. In order to expand the settings of the Zone that you have created, expand the box to the right of the map with the Zone’s name by clicking the plus button.
6. You can add a minimum order amount and delivery fees here too on the right hand column and name the zone as well as choose the colour.
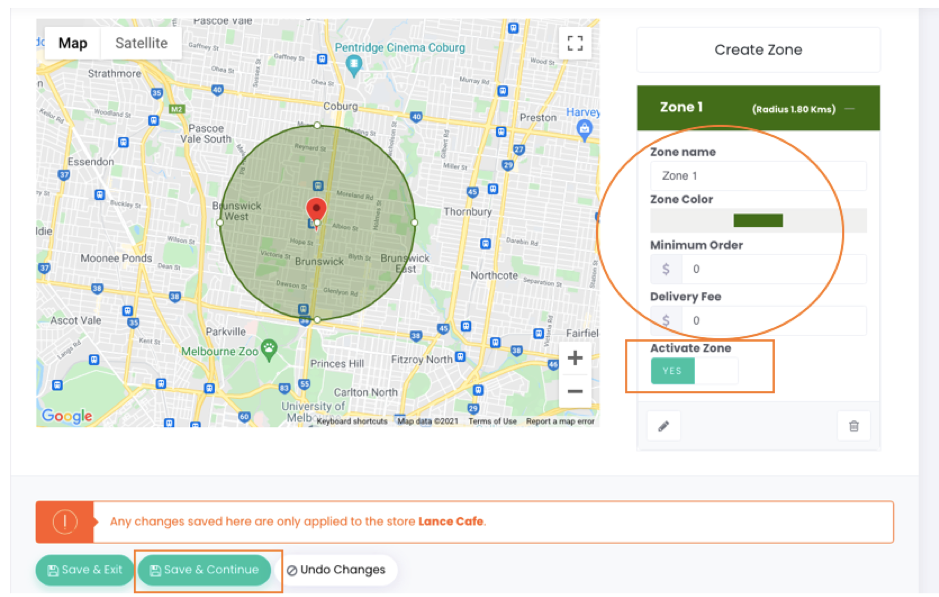
7. Remember to ensure the zone is active (‘Activate Zone’ should be on Yes) as well as making sure to click onto the “Save And Continue” button on the bottom of the page once complete.
NOTE: If you need to edit this zone (expand the areas or downsize) simply click the pencil button at the bottom of the right hand column and then click and hold the exterior of the circle and drag it to the new size of your liking. Remember to click save. You can also delete this entire zone if you need to.

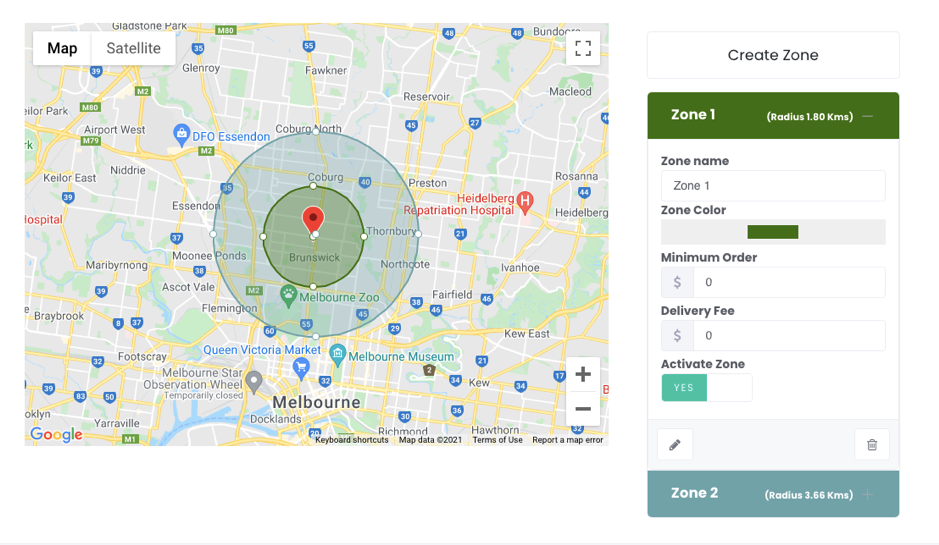
NOTE: If you need to create additional zones (to cater for the different delivery preferences of your store) simply press on the “Create Zone” again, draw another zone. You will notice a secondary Zone, i.e. “Zone 2” will be created and be displayed below the Zone 1 box on the right of the map. Expand the box in order to adjust the settings once again. Don’t forget to save your changes and ensure any other zones you create are activated or deactivated to your preference.
Delivery Suburbs
If you would like to set up delivery suburbs instead, please refer to the following article:
ARTICLE ON SETTING UP DELIVERY SUBURBS
Delivery Polygons
NOTE: Although Delivery Polygons now works with Google Food Ordering enabled, it still does not work with DoorDash Drive integration. For more information on DoorDash Drive: Read this article
If you would like to set up delivery suburbs/polygons instead please do the following:
1. Complete steps 1, 2 and 3 from above.
2. Click on the third tab on the top right of the page.
3. Press on the "Create Zone" button and then the middle button of the three buttons in the top-centre section of the map.
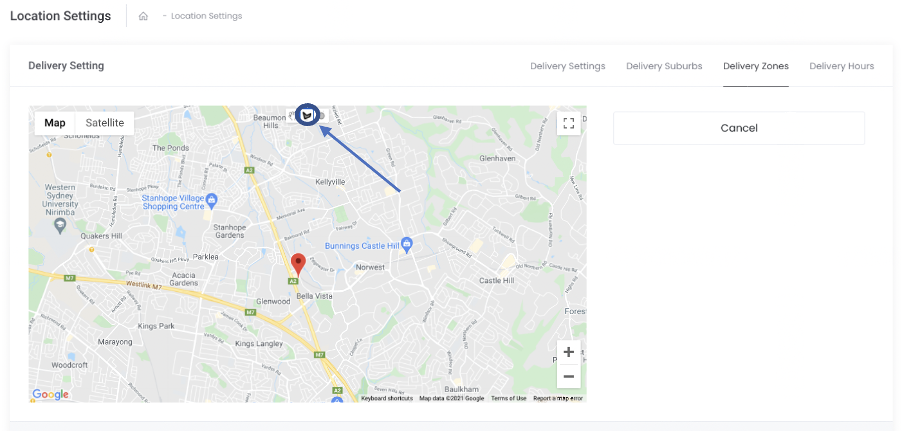
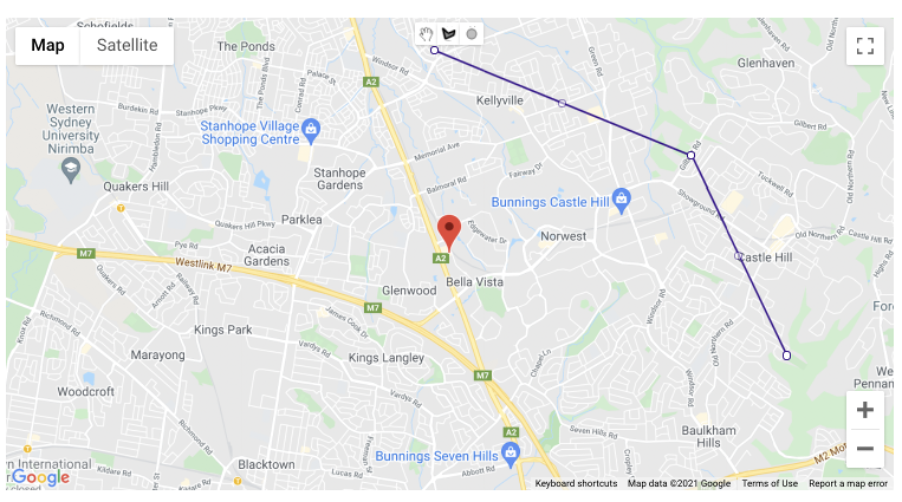
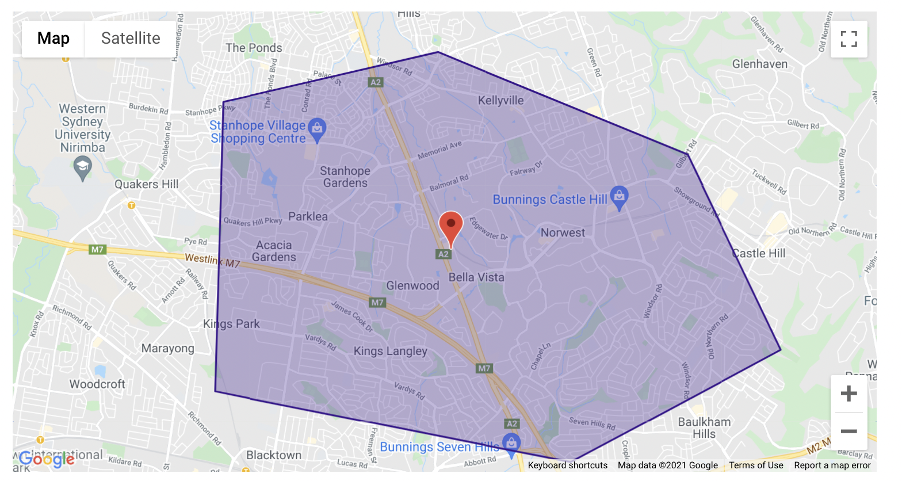
4. Now, press the first point of the outline you have in mind for the polygon and draw each line one by one, clicking at each point. Finally complete the polygon by creating a line that completes the polygon.
5. To edit or delete this polygon just click on "Zone 1" or "Zone 2" or 3 etc. depending on how many zones you have already made.
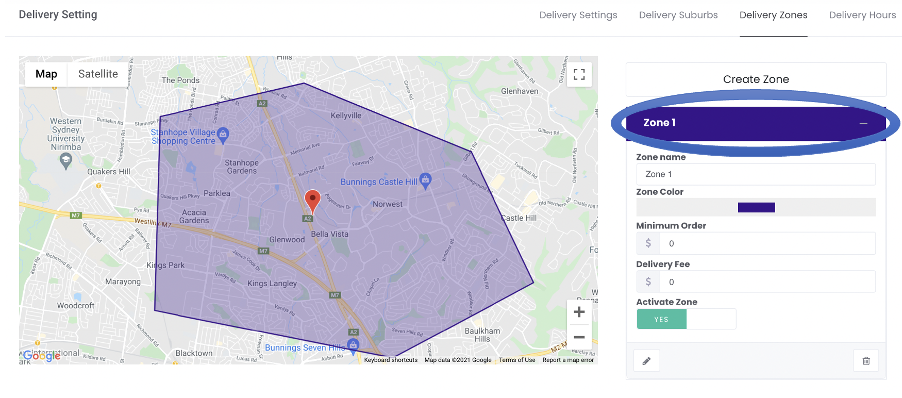
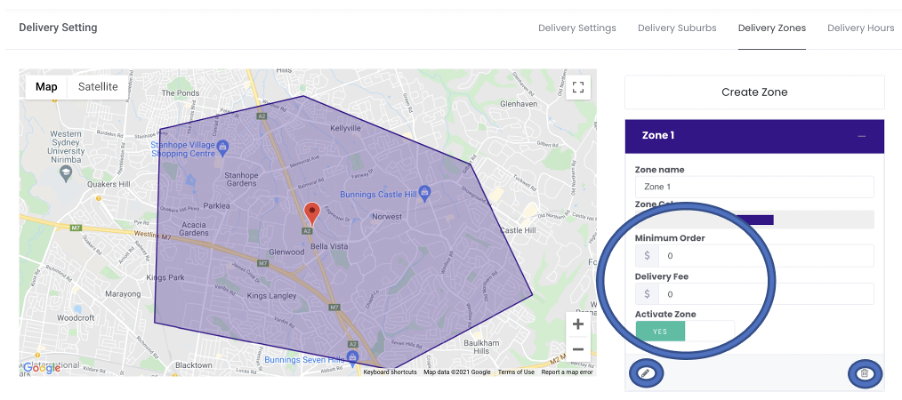
6. With this zone created, you can now set parameters such as the minimum order that will allow customers to place their delivery request, as well as the delivery fee that is applicable to this zone. If you would like this zone to be active make sure "Activate Zone" is switched to "YES".
Also, if you would like to edit this zone, press the pencil icon at the bottom left and to delete press the trash can icon on the bottom right.
7. From here you can either create more zones by clicking once again on "Create Zone", or if not you can just save your changes if you are happy with your delivery parameters.
